

Tuesday, November 15, 2011
Fixing Up an Old Chandelier


Wednesday, November 09, 2011
Bedroom Color Enhancement

I've lived in this house for 8 years and just now realized that my bedroom has not reflected my husband's and my personalities. It's been blah and beige for way too long. It's had little furniture except for a bed and an old, ugly chaise lounge that I didn't even want to show. It has built-in night tables, dressers, a frame around the headboard, and even an entertainment center. Even with the padded headboard that I made, it was past time for a color enhancement. I started with knowing I did not want to spend a lot of money. It wasn't necessary. First came art above my bed. It took quite a while to find something that fit the space. I got this print on The Foundary for $150. It had many colors which almost froze me with fear to continue. But I pursued on the internet, and in many stores, multiple times. I got advice from friends and yet it was the next item I purchased that sealed the deal. Adding color without changing much is easy. It's done with the accessories. It's done with art. It can also be done with paint....no ready to do that yet. I also needed some functional furniture.


Next came the yellow mohair throw ($21 on QVC) and an end of the bed wood slat bench ($64 with coupons at World Market). I know I'll never stop hearing from my husband "you got something else to bump into in the night". I'm such a klutz. The last step will be drapes and since it's taken me 8 years to make decisions, it may take me a bit longer. I am getting new blinds though. How do you like those verticals, huh?
Kabocha: What Rhymes with That?


I came across some interesting recipes the past couple of days watching tv and browsing the internet and thought it would be a good time to do some recipe testing for Thanksgiving and at the same time feed my family dinner.

I just learned of a squash called Kabocha. It's supposedly has a starchy texture like potatoes. I came across this recipe for mashed Kabocha and thought, hmm, may be fun to make something other than my normal mashed potatoes or at least incorporate Kabocha into a mashed potato recipe to add color and a little bit different flavor. I bought 2 and prepared and mashed them according to the directions. I then added minced and sauteed garlic, butter, salt and cream. I didn't add any cheese this time.

As a garnish, I saw the White House chef on The Nate Show the other day making Caramelized pepitas which were calling my name but I used Arizona Dreaming spice mix from Penzey's Spices that my friend Kristin got me instead of the espellete powder, which is like cayenne pepper.
Pleasantly surprised I found the texture to actually be like potatoes and it's my new favorite squash for many uses. The biggest issue is peeling the darn thing. Next time, instead of preparing it by peeling and dicing it to steam, I would cut it in half, take out the seeds and bake it in a dish face down at 350 degrees for about 45 min-hour, then simply scoop it out and mash it. My blister on my finger would agree.
Friday, October 28, 2011
Fancy Pants Pumpkins

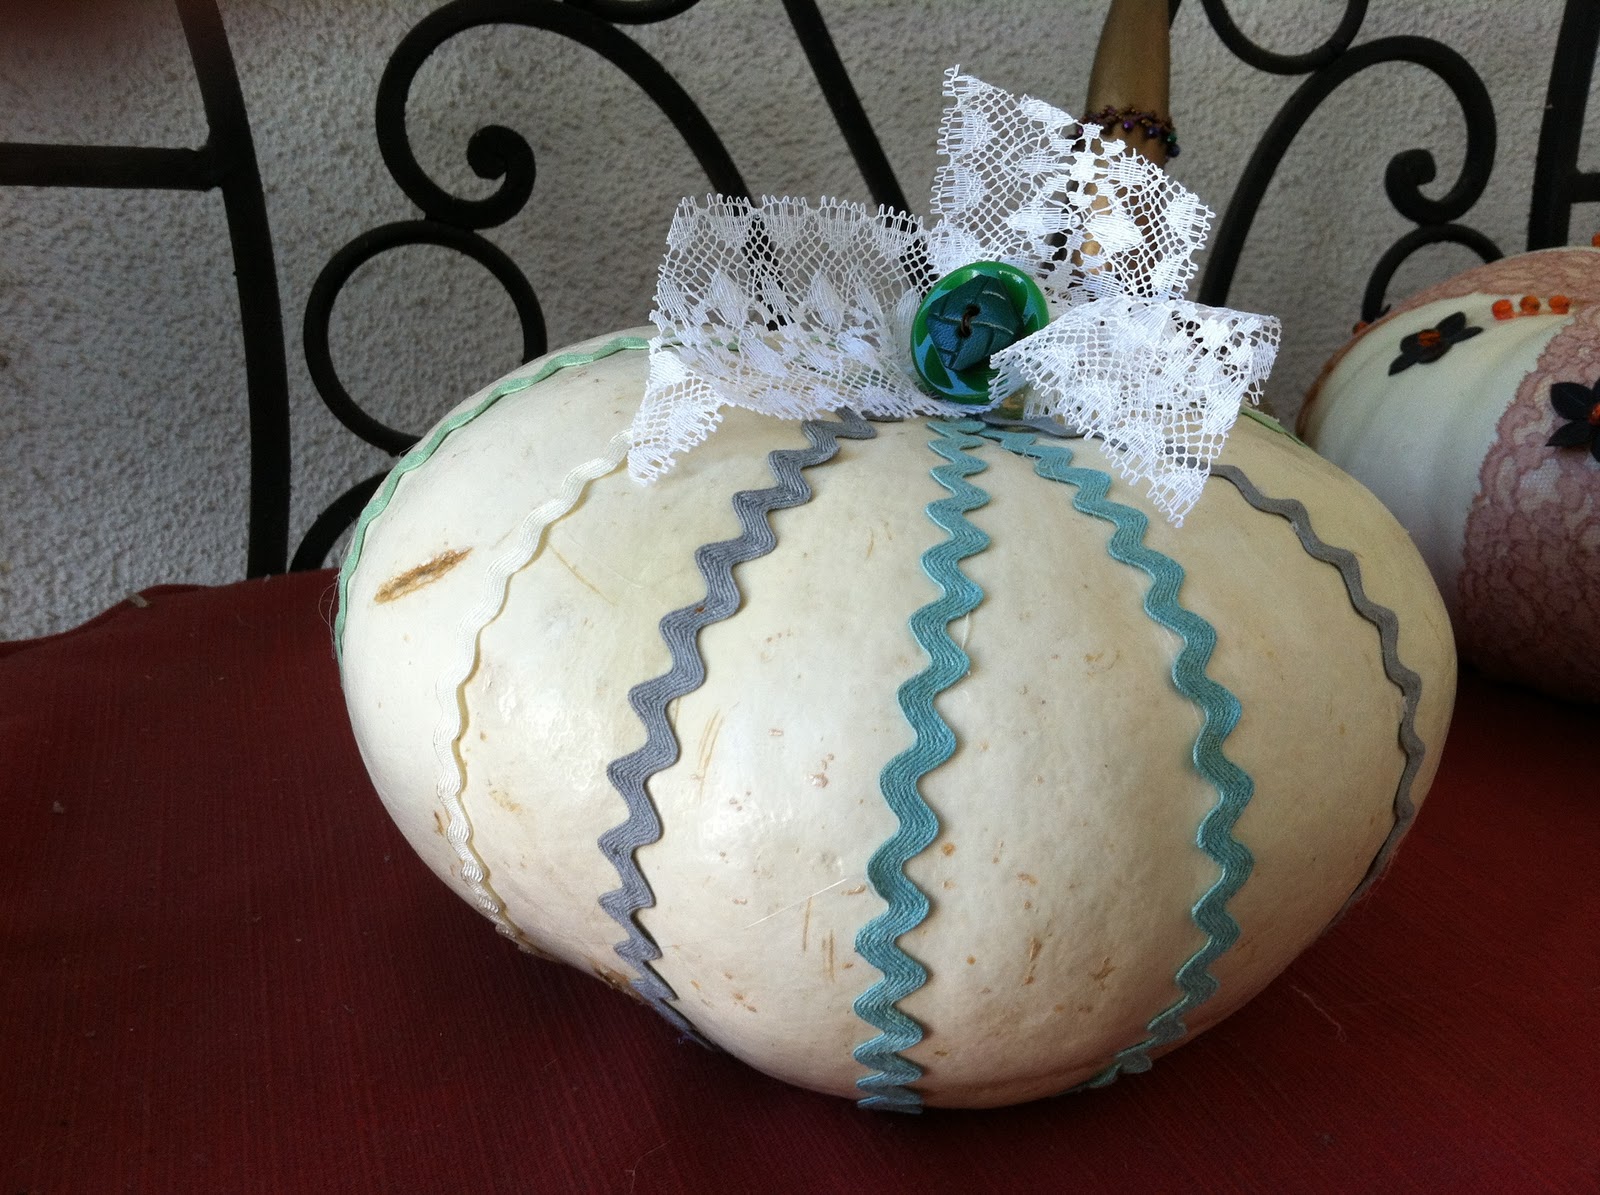
I am in a creative burst lately and was once again inspired by Pinterest to decorate rather than carve pumpkins using items I already had. I was in the store today and found these beautiful white pumpkins that were calling out to be decorated. Yes they don't match. So what. Yes, the colors have nothing to do with each other. So what. Each pumpkin wanted it's own style. Using vintage ribbon, lace, buttons and beads, I put the whole thing together using a glue gun. One's a sexy boudoir pumpkin and the other is a retro pumpkin.
Thursday, October 27, 2011
The inspiration is in your bathroom: Holiday Wreath

I'm addicted to Pinterest these days and I especially love the DIY section. I was inspired to save many toilet paper rolls because I wanted to make a holiday wreath inspired by the shape of a beautiful wreath on the now defunct, "See You There" blog. Directions on how to make it are very simple. The best things about this project were 1. that it was recycling something I'd normally toss and 2. that it was practically free. I had the paint, the glue gun and the paper rolls. All I needed were the berries which I got 60% off at Michael's. So the whole thing cost about $2.

I saved about 15 toilet paper rolls and cut about 4 pieces per toilet paper roll. You may need less, you may want more depending on your design. Then I laid out the pieces around a salad plate for the roundness how I'd like the finished wreath to look. I used a combination of crimson red and bronze acrylic paint. I brushed it on cut up toilet paper roll pieces. Spray paint would have been easier, but it's not what I had on hand. So I painted the inside and outside of each piece with a wide brush. After they dried I used a glue gun to assemble the wreath parts. Last I glued on the berries. I'm pretty pleased with the final result. What do you think?
Friday, October 21, 2011
Pizza Cupcakes

I was really in the mood to make pizza for dinner but knew I didn't feel like pulling out my pizza stone. I recalled last week on Pinterest seeing these little pizza cupcakes and thought that was a great idea. I looked at several recipes. Some made dough, some used bisquick mix, and some used refrigerated dough. The common denominator was that you bake according to the dough recipe states. So I decided that I would use pre-made pizza dough. The fillings are purely your choice. Today this is what I decided to use. I purchased 2 packages of rosemary foccaccio dough from Fresh & Easy. The fun thing is that you can add anything to these pizzas and even change what you put in each one. I'm sure kids would love to help out. My kid however, would rather do chemistry homework. Oh well.
Ingredients:
premade refrigerated pizza dough- rosemary foccaccio from Fresh and Easy
sauce- I used sundried tomato pesto from F&E
prosciutto cut into small pieces
shredded mozzarella
black olives sliced
fresh spinach
How to:
1. Thinly coat each cupcake tin with olive oil.
2. Make small balls of dough and with your hands, flatten and pull them until each one is slightly larger than each cupcake liner. Line each tin with dough. I used two packages which made 14 pizzas.

3. put some sauce in each liner


4. start layering ingredients and finish with cheese, then olives
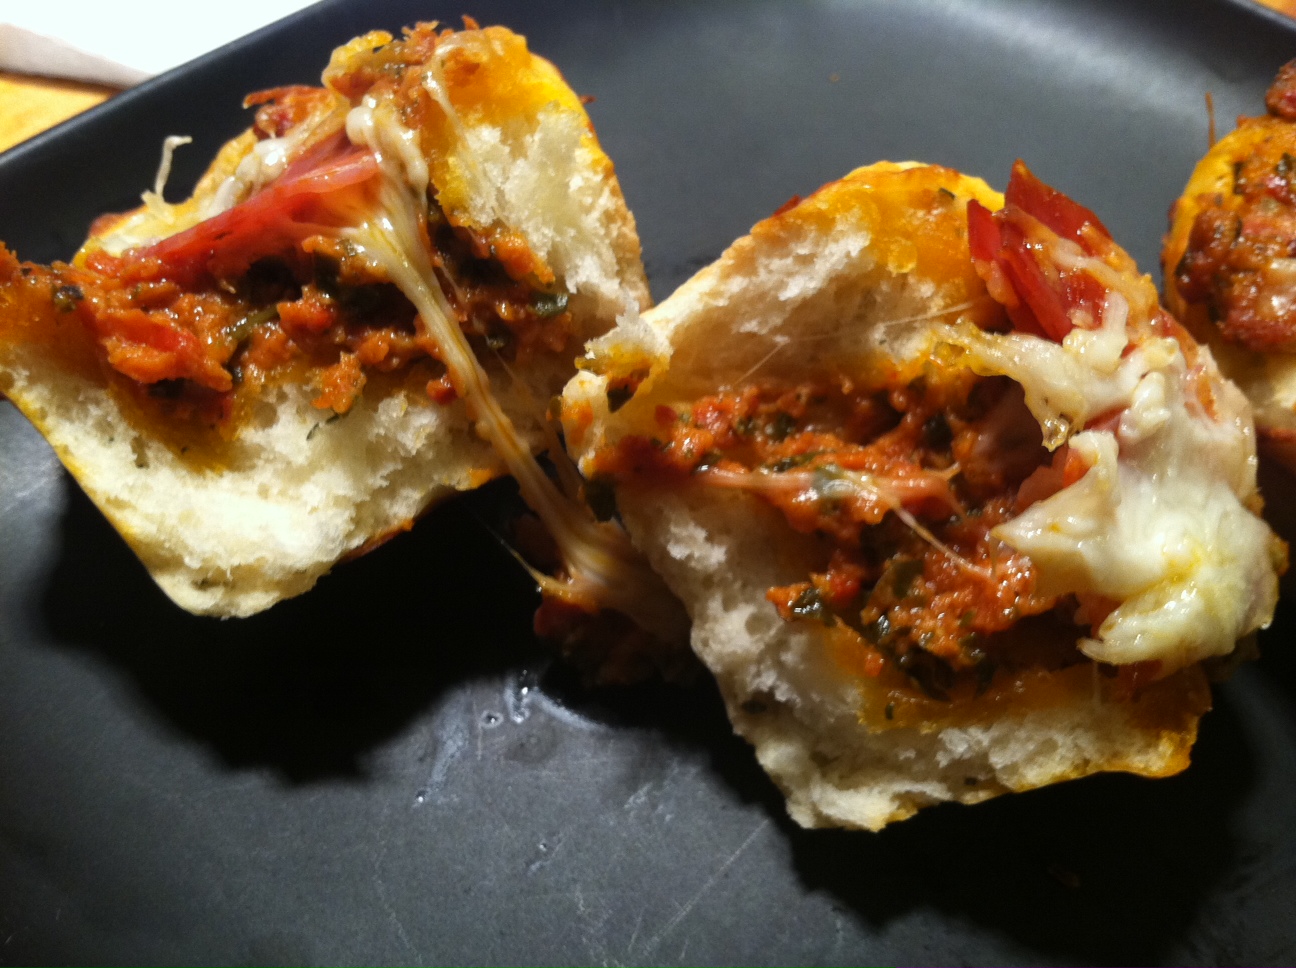
5. bake according to package directions. I baked mine at 400 for 20 min. And they were perfect!
Subscribe to:
Posts (Atom)




 Posts
Posts


